
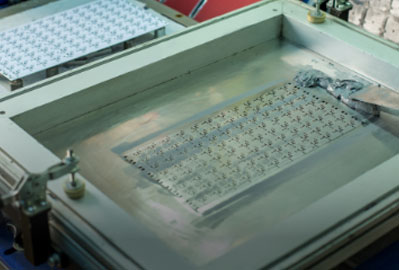
Surface-mount technology is the process method for attaching components to a PCB. A surface-mount stencil allows the solder paste to be deposited onto the board and act as the ‘glue’ to hold the component in place.
The stencil consists of a thin sheet of material, typically a specific alloy of stainless steel, in which apertures are laser cut. The thickness of the stainless steel directly relates to the solder paste deposit on the PCB; a .004” stencil will translate into a printed solder paste height of .004” on the PCB. The components on the board determine what foil thickness should be used—usually, all of the components can be accommodated with the same thickness. However, sometimes a board requires multiple thicknesses for appropriate solder paste volume, and a step stencil is needed. A step stencil starts with a primary thickness, and specific areas are stepped up or down to control solder paste volume.
When should I use step down stencils?
A step down stencil can be used when a PCB has one or more fine pitch devices but the majority of the board needs more solder paste volume. 0.006” might be ideal for everything, but trying to print a .016” pitch QFN is going to result in poor paste release and clogged apertures. A step down to .004” only on the QFN will print the proper paste volume across the board.
When should I use step up stencils?
While the step down stencil prints thinner in certain areas, a step up stencil prints thicker on components that have stand-offs, pin-in-paste, or larger connectors or headers in order to have sufficient solder.
What else should I know about the step stencil process?
The step can be on either the squeegee or board side, and multiple thicknesses are possible within one stencil. There are several process methods available—MicroWeld can add any thickness to a stencil, even an existing stencil! Laser welding, chemical etching, and milling are options for a step up, step down, or adding relief areas (for PCB barcode labels, for instance).
What should I look for in a step stencil?
The goal of a step stencil is to maximize productivity and minimize defects. A step stencil normally adds a day or two lead time as well as additional costs, so it is important to get it right the first time. Print direction and setup need to be considered when adding thickness to the squeegee side to ensure a smooth transition from the step levels. Board side steps may compromise proper gasketing on nearby components if there isn’t enough clearance.
Benefits of step stencils
Multi-level stencils allow effective paste printing on PCB boards with mixed components that have a variety of paste requirements. Current technology provides options for the most challenging PCBs!